VPN access for vCloud Director Customers

Providing VPN access to vCD customers is a great idea, because usually customers are behind a vCloud created firewall and most likely you created a routed organization VDC network to connect them to external network. So, how they have to get access to their VDC? One approach could be to define different sets of firewall and NAT rules for required access ports (SSH, RDP, …) but when the number of VM’s grow, this would be less flexible but of course still doable. Even a customer can get access to only one VM and go through this single VM to access the others; however sometimes it’s not a simple remote access and remote user wants to do a more advanced task.

By the way, I don’t want to go into the details of benefits of having a VPN for remote clients but it seems like a very helpful facility for cloud customers. We can leave it to the user to install its own VPN server to tunnel through to get access to organization VDC network but VMware provides this excellent capability to setup VPN gateways in vCloud Director or vSphere Cluster. For a Site-to-Site IPsec VPN, VMware vCD is pretty much straight forward. So, if you have a VPN gateway in place, easily you can establish a tunnel between your local network and your organization network in the cloud. I found this guide about setting up an IPSec tunnel in vCloud Director with useful examples, one with a Cisco WAN router. Here is another guide for a Cisco PIX and vCD; although the vCD version is old (1.5) but it’s too similar in terms of VPN tunnelling.

However, if you don’t have a VPN endpoint in-place and still want to establish a secure VPN-connection with your vCD organization network as a remote user, VMware provides this brilliant SSL VPN utility. It’s not as straight forward as IPsec VPN and it’s not present in vCD web portal but it worths deploying (especially for customers). VMware SSL VPN should be configured in vCloud Networking and Security solution (which is a new name for vShield Manager).

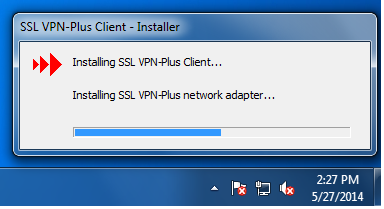
I’m not writing a How-To for this here and a complete step by step guide can be found here, very well explained by Ranga Maddipudi. I just wanted to give some idea and as you can see, deploying a SSL VPN gateway is fairly easy and an installable file (.exe file for Windows) will be provided. To get this file, on the client side use should use the browser to download the file. The URL for downloading the package would be: https://external-ip-address-of-gateway:443
After getting the file, user can easily install the VPN client and that’s it.

SSL-VPN1

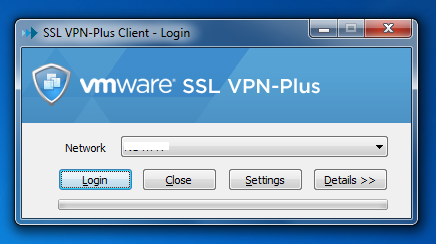
Running the application and entering the right credentials, VPN connection will be established and given that the configurations are server side are well defined, remote user will get access to VDC organization network in the cloud. In fact, what excites me is that from engineering point of view, VMware did a great job to ease the whole procedure of setup a connection on both server and client side; in specific, generating a custom designed VPN client using SSL (as authentication and encryption protocol) VPN is a brilliant idea.

SSL-VPN2

Advertisement

Troubleshooting WordPress Screen of Death

Last week I was asked to look into an on-premise WordPress website with a very low performance. I’m not expert in WordPress but I could say that comparing to the structure of the website and contents, it was too slow. Examining the system logs, I understood that memory usage reaches to its limit very soon as a result of huge consumption of Apache processes; in fact eventually Apache was returning white screen (500 error) to the visitors.  So, definitely something was wrong and simple troubleshooting guides mentioning to disable plugin and themes and even overwriting wordpress files didn’t help me! Clueless!

But when I was backing up the wordpress database to move it to a fresh Linux machine, something came to my attention: the dumped file was too big for their contents. Also, as soon as I imported the db into new mySql, the website became slow and eventually went down! So, it turned out that the issue is in the WordPress database. Using ‘phpmyadmin’ I found the largest table which was ‘wp_options’! I ran a simple query on it to see what’s in it? browsing through the results, soon I saw some irrelevant stuff. OMG! WordPress database was hacked and some HTML pages were inserted into ‘wp_options’ table! No wonder that website was slow! the ‘option_name’ of this table was filled with stuff like ‘/?tid=michael-kors-sac-CclA21.html’ and the value was a complete HTML file! Around 35000 of these rows were inserted and made a huge database.

So, I started cleaning database and getting more information about hacking WordPress. By the way, I put the clean database in a fresh installation of WordPress in a new machine and asked them to follow the best practices for securing WordPress website. I didn’t find similar situation on Internet, so I though it worths sharing, although I’m not a WordPress expert!

Enlarge Linux Partition to sizes Larger Than 2TB

If you have partitioned a disk using ‘fdisk’, most probably the partition table is using ‘MBR‘. Nowadays, one important disadvantage of MBR is the lack of supporting larger than 2 TB partitions. So, if you want to extend a partition while disk is using MBR, first the disk partition table needs to be converted to ‘GPT‘. To find difference between MBR and GPT see here as well.

Generally, to resize a partition, it needs to be deleted and re-created using new size or end sector. A good general approach to enlarge a partition while not losing data is explained in this link. You can follow this how-to with a slight but important difference: instead of using ‘fdisk’, ‘gptdisk’ or ‘gdisk’ should be used. ‘gdisk’ supports GPT and if you use the existing specifications (first sector) for new partition, there would be no data loss. When doing conversion, a warning will be triggered:

THIS OPERATION IS POTENTIALLY DESTRUCTIVE! Exit by typing 'q' if you don't want to convert your MBR partitions to GPT format!

But it’s okay! Don’t worry and continue. Then, it will ask for partition type, because the current partition type is based on MBR partition table. You can choose ‘ef00’ which is ‘EFI System’. Go ahead and create the new partition with new size, save the partition table and you are done. Then ‘resize2fs’ can be used to enlarge volume.

p.s – instead of enlarging partition, another choice (rather than MBR to GPT) is using LVM to create large logical volumes containing multiple physical volumes.